Install the application
- Open the VinylRest File distribution disk image.
- Drag VinylRest File to the Applications folder.
- Eject the disk image, then open VinylRest File from Applications.
- If macOS asks for confirmation, verify that the application name is VinylRest File and select Open.
VinylRest File 1.00b1 build 8 is signed, notarized and distributed as a Universal 2 application for Apple silicon and Intel Macs. It requires macOS 15.4 or later.
Activate the free Beta license
- Open Settings → License.
- If you do not yet have a Beta key, choose the request option and submit your name and email address.
- Paste the license key received by email and choose Activate.
- Confirm that the main window shows Licensed to and that restoration is enabled.
Prepare the source
Use the original lossless transfer whenever possible. Editing, normalization or lossy compression before restoration can make defects harder to distinguish from musical transients.
- Choose mono or stereo WAV, AIFF, FLAC or ALAC.
- Keep a separate backup of the original transfer even though VinylRest never modifies it.
- For a record side split into several files, either process each file separately or place the files together in one folder.
- Do not select AAC, MP3 or another lossy format; an
.m4afile must contain ALAC.
Select one audio file
- Choose Single File in the Input selector.
- Select Choose Audio…, or use File → Open Audio… /
⌘O. - Select a supported source and choose Choose.
- Confirm the displayed format, channel count, sample rate, resolution and duration.
VinylRest proposes <source name>-restored.<extension> in the source folder. Select Choose… beside Restored copy to use another directory or filename. The source and destination must remain different files.
Use the recommended starting configuration
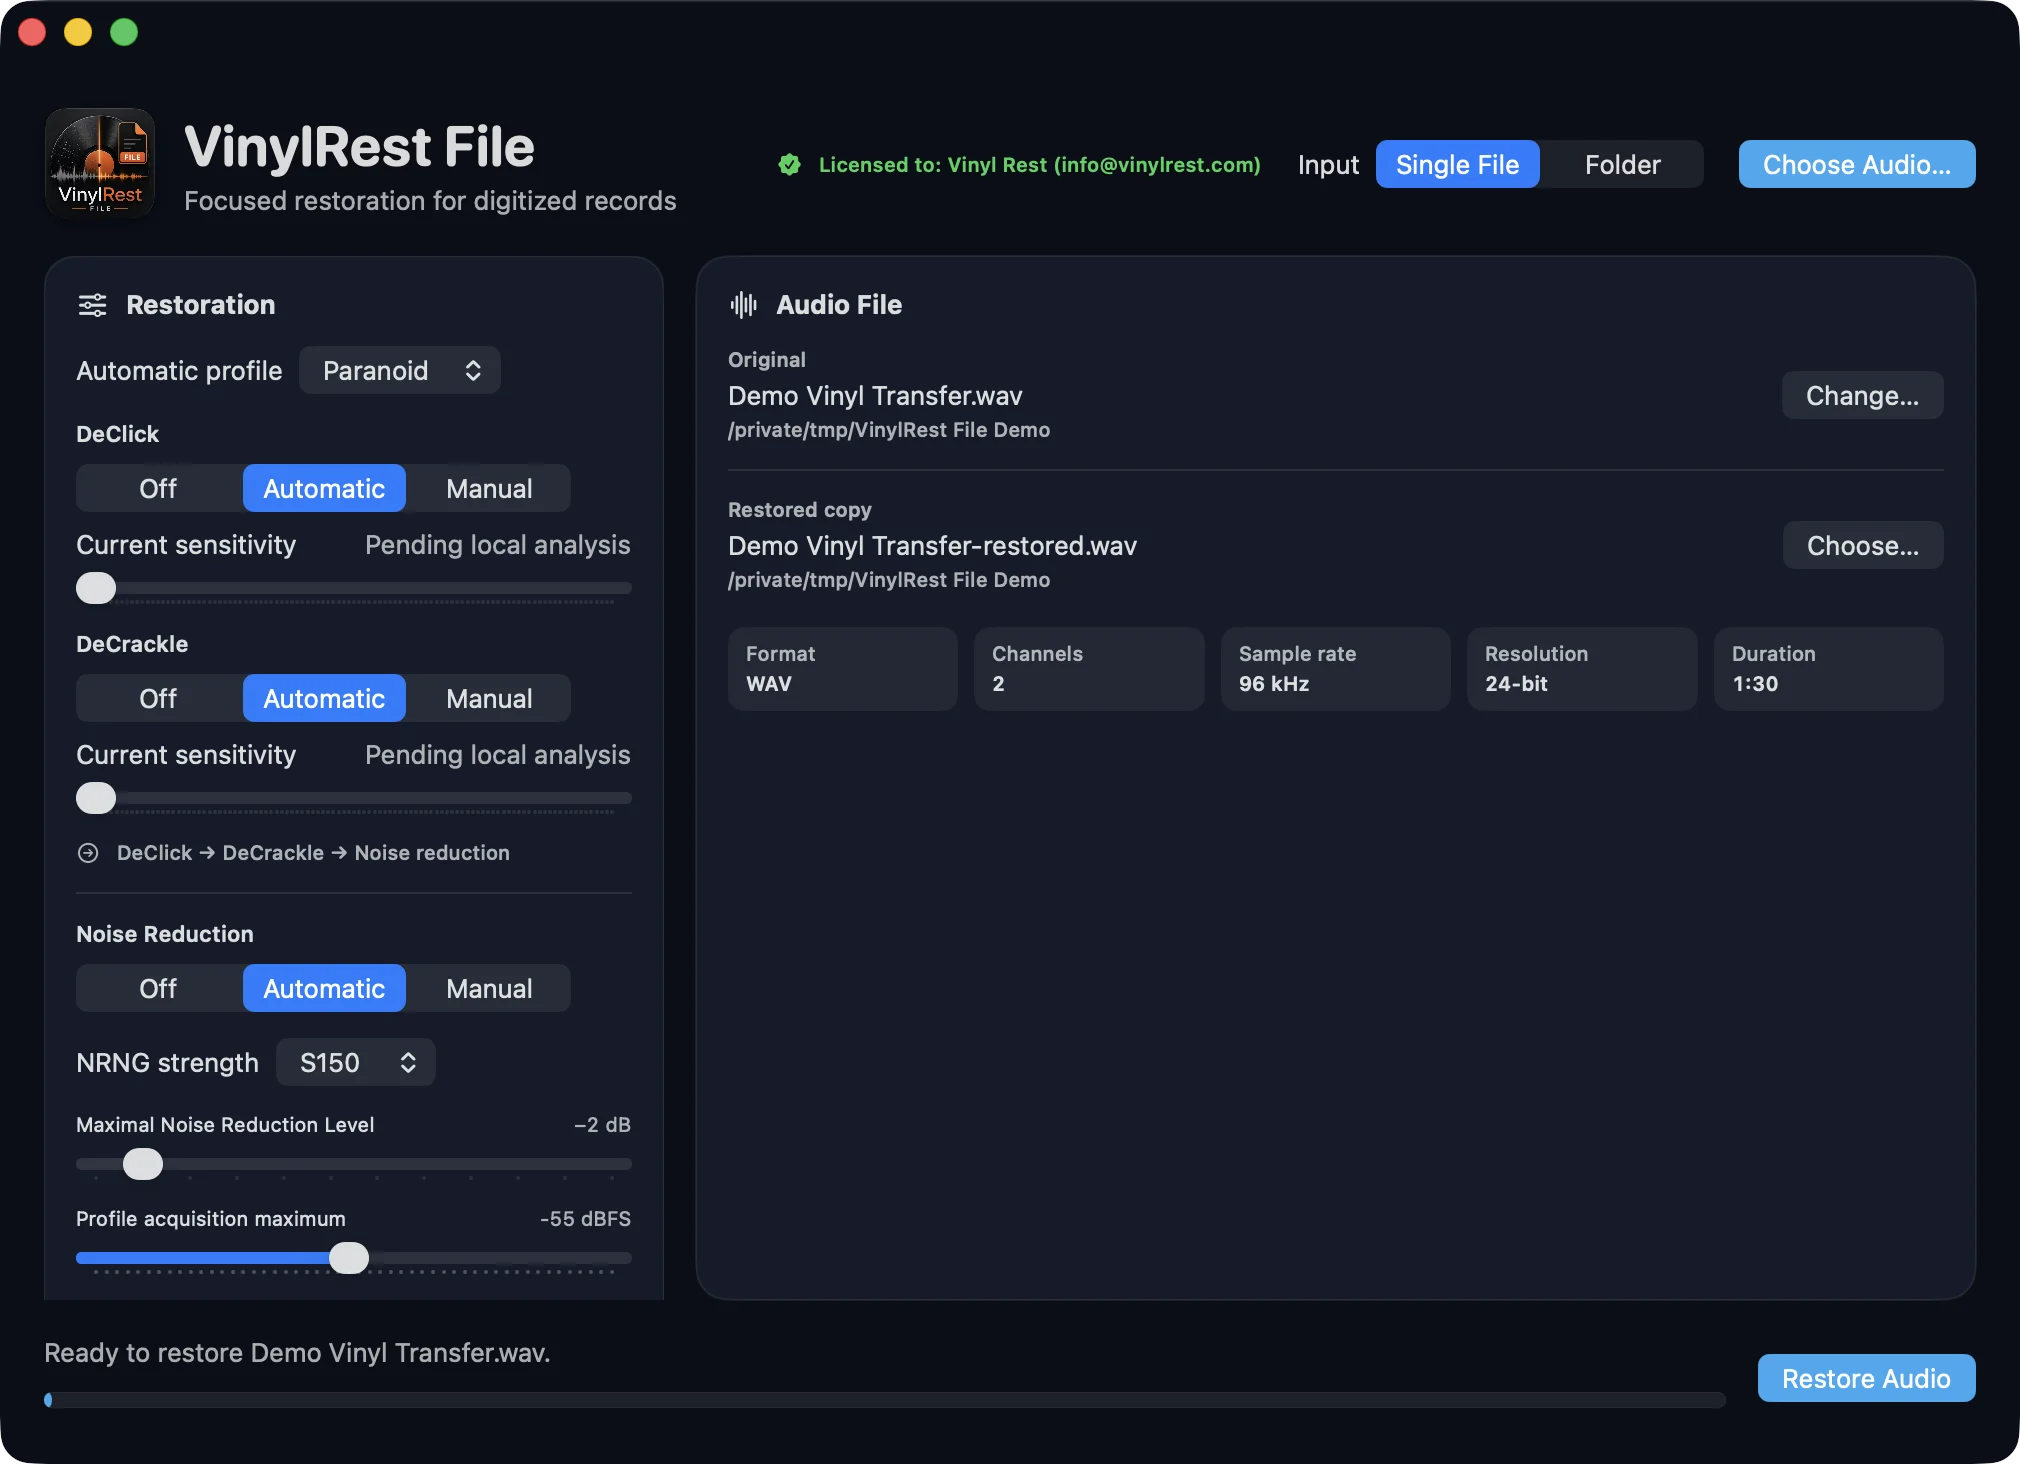
For the first restoration, use the following controls. Later launches restore the last saved restoration choices, so check them before starting a new record.
| Control | Recommended value | Purpose |
|---|---|---|
| Restoration engine | Current NG2 path | Fixed sequential DeClick → DeCrackle reconstruction; there is no method selector |
| Automatic profile | Paranoid | Most conservative factory limits |
| DeClick | Automatic | Local click and pop sensitivity |
| DeCrackle | Automatic | Independent local fine-crackle sensitivity |
| Noise reduction | NRNG Conservative S150 | Learns one file-local P65 profile after DeClick and DeCrackle |
| Global grade maximum | Automatic | Selects one whole-file NRNG ceiling from the global grade, capped at 12 dB |
| Profile acquisition maximum | −55 dBFS | Accepts the first qualifying one-second noise interval between 1 and 10 seconds |
Run the restoration
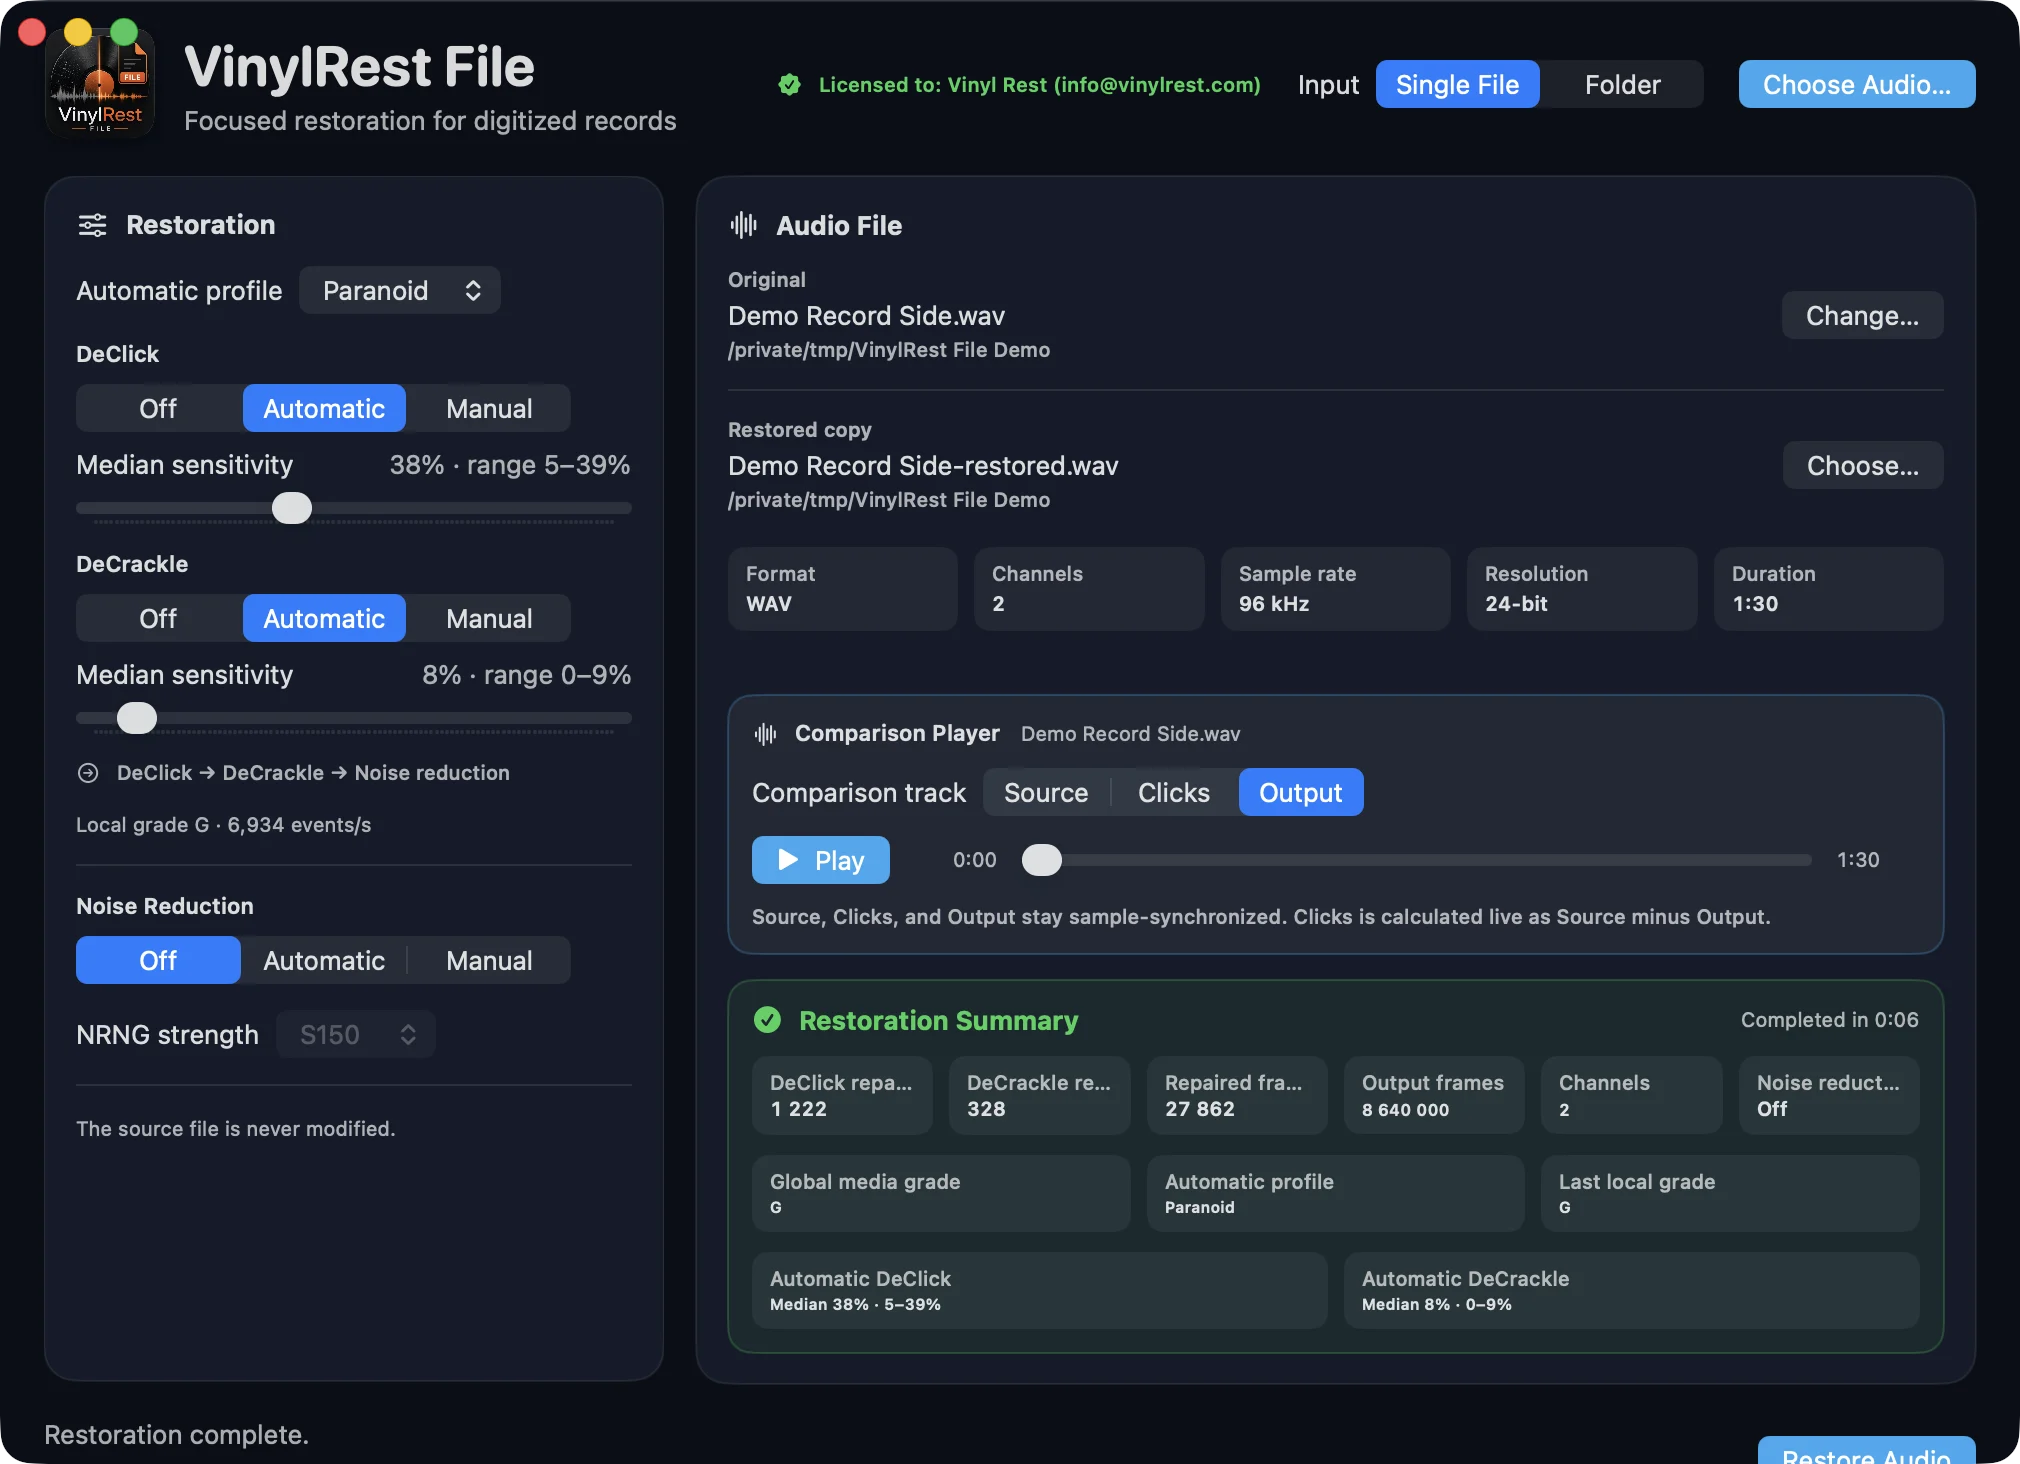
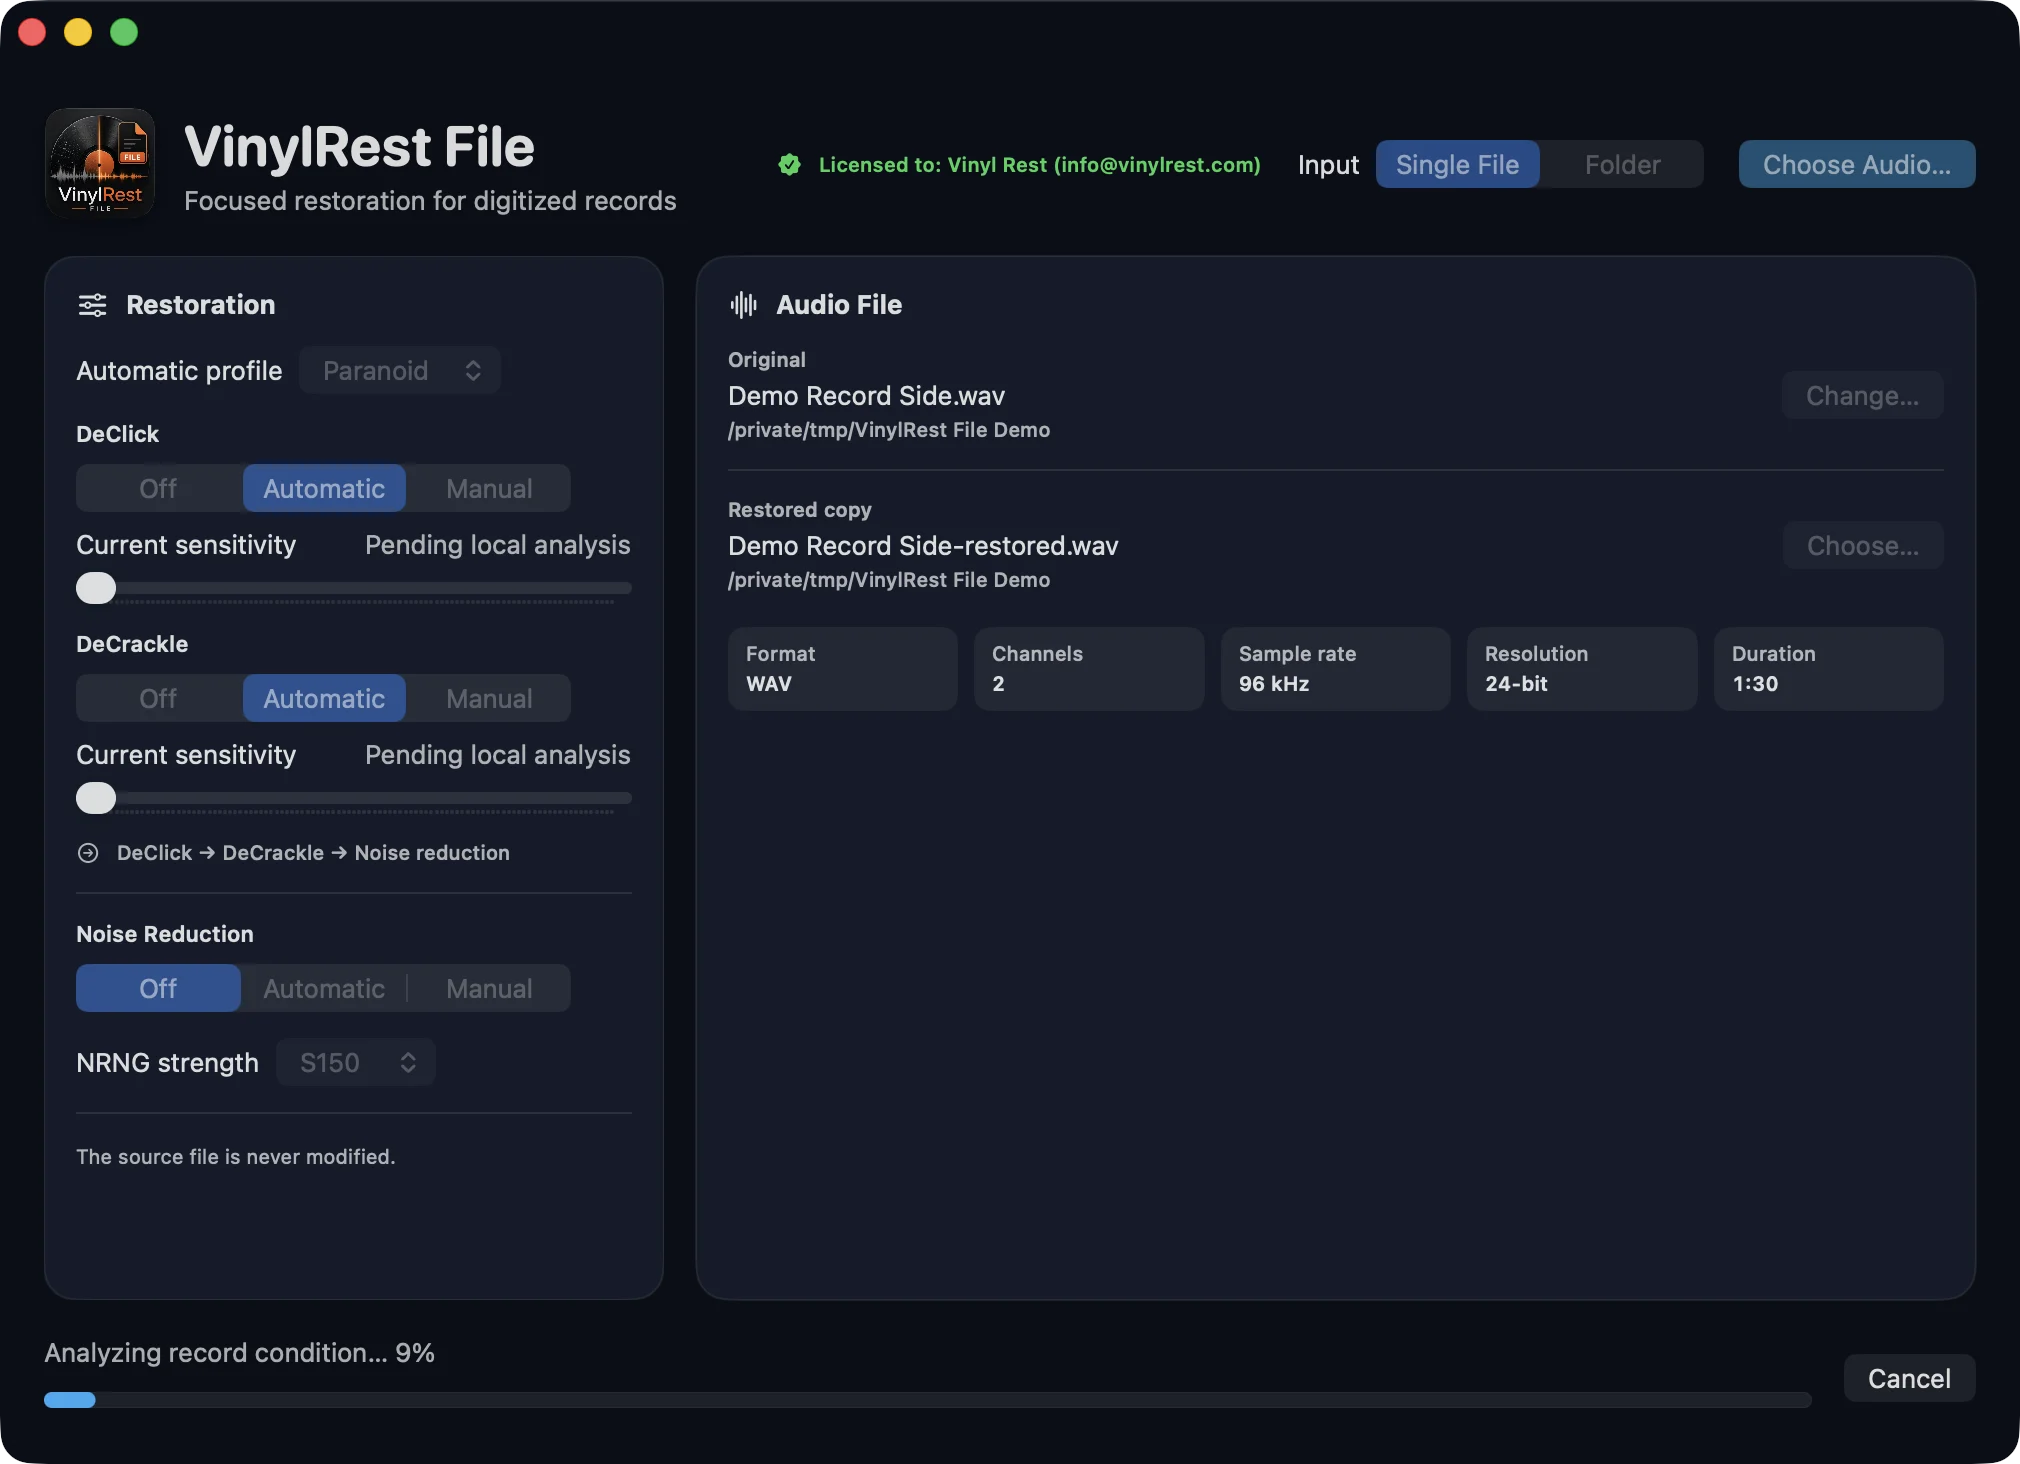
- Select Restore Audio. If any selected output already exists, review the exact names in the warning and choose Replace or Cancel.
- Leave the application open while it analyzes, repairs, reduces noise, writes and verifies the result.
- Watch the status and progress bar. Select Cancel if you need to stop; an incomplete output set is not published.
- Wait for Restoration complete and the green Restoration Summary.
Review and compare
The result summary reports repair regions, repaired frames, output frames, channel count, noise-reduction result, global media grade and Automatic ranges. These measurements describe the job; they are not a listening-quality score.
- Select Source, use the scrubber to find a useful passage, and select Play.
- Without moving the playhead, switch to Clicks to hear the signal calculated as Source minus Output.
- Switch to Output to hear the restored file at the same sample position.
- Listen for removed clicks and reduced steady noise, but also for softened attacks, altered ambience or tonal artifacts in Clicks.
- If the result is too strong, return to Paranoid, use S150 or reduce a Manual sensitivity. If defects remain, try the next less-conservative profile.