
A dedicated place for your records
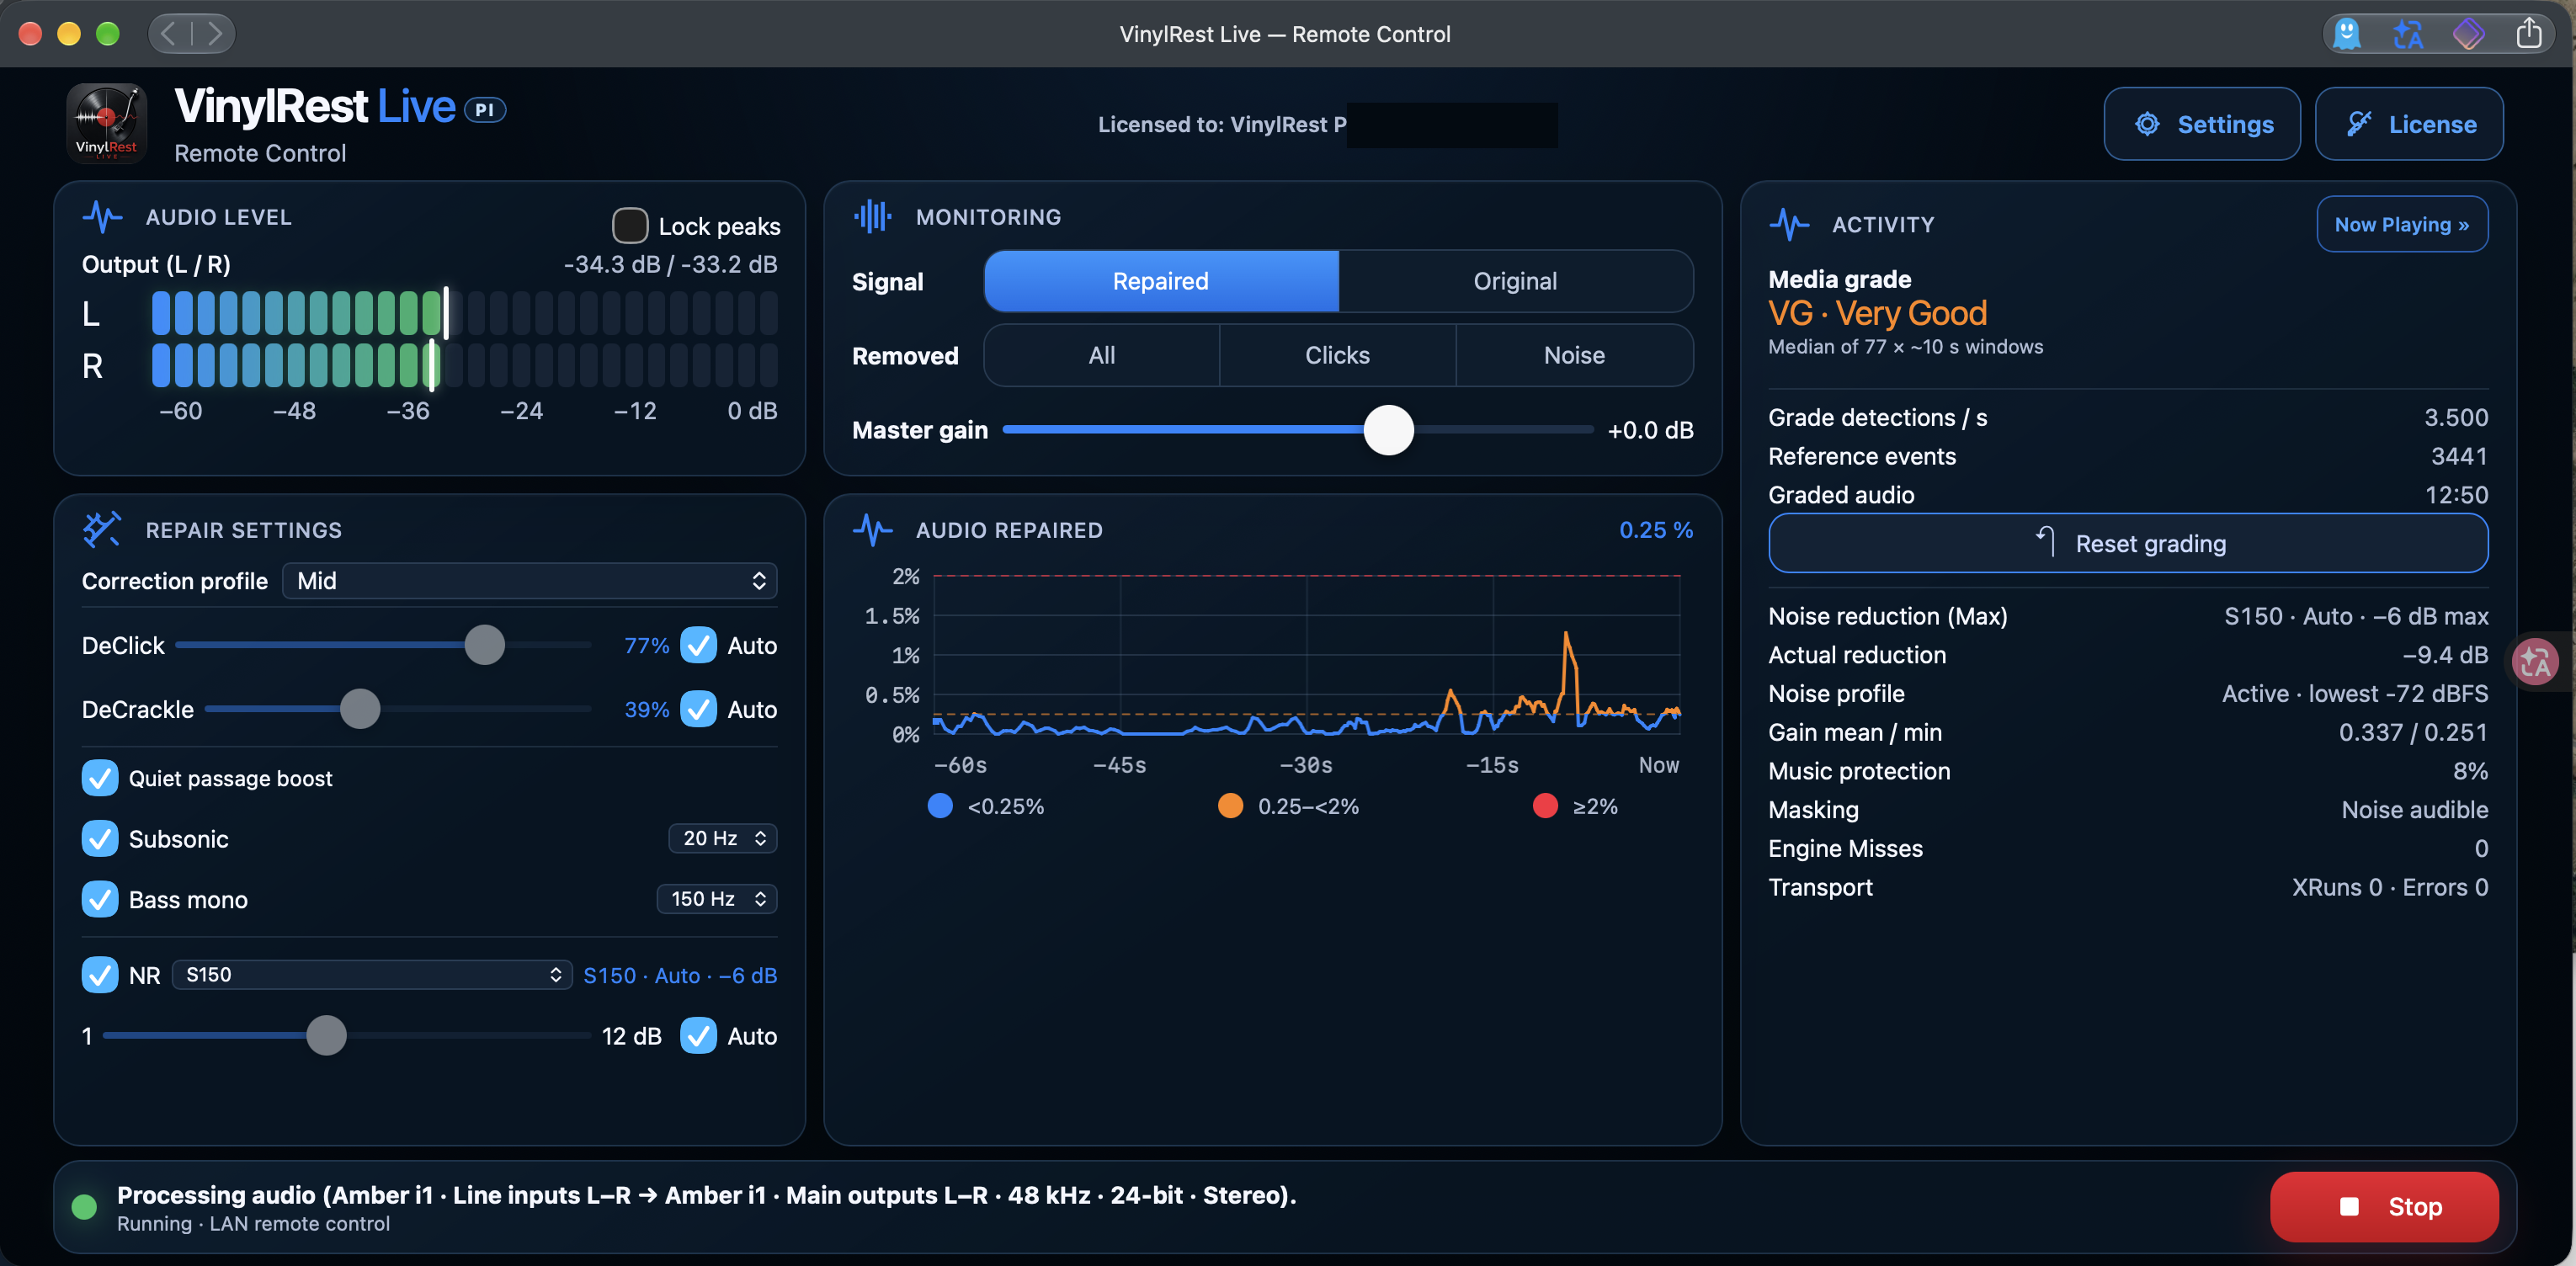
VinylRest Live Pi processes a stereo signal on the Raspberry Pi itself. A browser provides the controls, meters and Now Playing display; the sound travels through the USB audio interface connected to the Pi.
Start here
- Connect a compatible USB audio interface, your phono stage and your amplifier. Begin with the amplifier muted.
- Boot the prepared VinylRest image and allow the first-start initialization and automatic reboot to finish.
- Use VinylRest Live Discovery on the same network to find the Pi and open its browser controls.
- Set the appliance region and network in System Maintenance, then activate your license in Live.
- Start at 48 kHz / 24-bit, select the correct input and output pairs, and compare Repaired with Original.
Chapters
First boot & DiscoveryConnect the appliance, let it start, and find it on your network without memorizing an IP address.
Dashboard & Now PlayingThe dashboard keeps listening controls close at hand and makes the work of the restoration engine visible.
Restoration & gradingBegin with automatic settings, compare the result, then adjust only what the record needs.
Audio & display settingsLive Settings controls the listening session. The separate Configurator controls the appliance and its preferred sample rate.
Input calibrationMeasure the actual input from your turntable chain so that automatic decisions suit your hardware.
Appliance configurationSet up the Raspberry Pi itself through the independent configuration page, even before activating Live.
License & activationManage the Pi license directly in Live. No terminal is needed for the normal activation workflow.
Updates & recoveryKeep the appliance current and recover useful information before restarting a session that has developed a fault.
TroubleshootingBegin with the symptom, check the displayed status, and preserve a diagnostic report before rebooting.
Two browser interfaces
| Interface | What it controls | Default address |
|---|---|---|
| Live | Playback, restoration, Settings, License and Now Playing | http://PI-ADDRESS:8001/ |
| Configurator | Network, sample rate, administrator access, updates and diagnostics | http://PI-ADDRESS:8003/ |
Replace PI-ADDRESS with the address found by Discovery or your router. The addresses and personal settings in the screenshots are examples.
Trusted local network: both interfaces use HTTP without a browser login or encryption. Keep them on your private LAN and do not forward their ports to the Internet. Setting an SSH password does not add a password to these pages.
This manual covers the Pi interface shown in the September 2026 screenshots, including appliance package 1.00.lin.b1-23. The application version and the appliance package revision are separate, so their displayed numbers can differ.