
System requirements
- Raspberry Pi 5 (strongly recommended) or Raspberry Pi 4 Model B, with at least 1 GB RAM. Pi 5 remains the preferred hardware. The new Configurator/Settings captures show a Pi 4 running b1-28. Begin at 48 kHz; Pi 4 is limited to ordinary-click DeClick, while 24-bit capture is preferred when available.
- A microSD card of at least 8 GB for the current VinylRest image, plus a card reader and computer when preparing a new card.
- Official Raspberry Pi power supply: the 27W USB-C model for Pi 5, or the 15W USB-C model for Pi 4. Allow for the power drawn by USB peripherals; use the audio interface's own supply if it requires one.
- A case appropriate for your Pi model, with adequate ventilation and cooling. Active cooling is recommended for sustained processing.
- Linux-compatible stereo audio input and output with a common native 48 kHz format. A duplex USB interface is simplest; separate devices, the Pi 4 analogue jack and supported Audio HATs are also available. Capture and playback depths are negotiated independently: 24-bit capture can feed a 16-bit output, and 16-bit-only inputs are supported.
- A turntable and phono preamplifier, unless the turntable already provides a suitable line-level output.
- An amplifier or powered speakers, and the USB and audio cables required to connect the whole chain.
- Ethernet or Wi-Fi, and a computer, tablet or phone with a modern browser on the same trusted LAN.
- Internet access for license activation and validation, software updates and music recognition.
Choose input and output independently
A single duplex USB interface is the simplest setup because capture and playback share one hardware clock. Live also supports separate input and output devices with clock-drift compensation: choose both devices and their stereo connector pairs in Live Settings. Both devices must support a common native rate; begin at 48 kHz. On Pi 4, the onboard analogue jack is enabled automatically when no Audio HAT is active, with its ALSA playback level set to +4 dB. Select bcm2835 Headphones as the output in Live Settings. Pi 5 has no analogue jack, and HDMI audio stays disabled in the standard image.
For an I2S board, select the matching model in the Configurator's Audio HAT section if automatic EEPROM detection is not sufficient, apply the hardware setting and reboot when requested. Then select the detected device in Live Settings. Use line or digital outputs appropriate for your amplifier; an amplified speaker output must never be connected to a line input.
Interface references and connections
- ESI Amber i1: USB-powered, with stereo RCA line inputs and balanced 6.35 mm TRS line outputs. Connect the phono preamplifier to the rear line inputs, select Line, and turn the monitoring mix towards out to hear the computer playback signal. This is the interface shown in our screenshots.
- MOTU UltraLite-mk5: six rear balanced 6.35 mm TRS line inputs and ten analogue outputs, including the Main Out pair, with an external power supply. Choose a stereo line-input pair and a stereo output pair in Live. Configure the interface's internal mixer so that the chosen outputs receive the processed USB return rather than an additional direct-input mix. See the official MOTU user guide for hardware routing.
Model references do not certify every firmware or sample-rate combination. Check device detection, channel routing, levels and stable playback on your hardware. Pi 4 audio performance with your chosen interface and material also needs to be checked during this Beta.
Prepare a new card
Download the latest Live Pi Beta image (currently 1.00.lin.b1-30 RC1, 462 MB compressed). The SHA-256 checksum is available to verify the download. The image expands to 7.26 GB; use an 8 GB or larger microSD card.
Beta candidate. Fresh-card boot validation is still pending; check initialization and playback on your hardware before regular use.
- In Raspberry Pi Imager, choose the supplied VinylRest
.img.xzas a custom image. - Select the correct microSD card. Writing the image erases that card.
- Skip Imager's operating-system customization for this image. Use the VinylRest boot file or Configurator for setup.
- For Ethernet, connect the Pi to the router. For Wi-Fi-only startup, reconnect the card reader after writing the image, then edit
vinylrest-wifi.tomlon the freshly written card'sbootfspartition. Follow the Wi-Fi setup steps below before inserting the card into the Pi. - Safely eject the card, insert it into the Pi, connect the USB interface and apply power with the amplifier muted.
On its first start, the image creates a unique appliance identity and SSH host keys, then automatically reboots once into protected mode. Allow this to finish without interrupting power. No keyboard or display is required.
Find the Pi with VinylRest Discovery
VinylRest Live Discovery finds and verifies Live appliances on your local network. Its Mac application opens the selected Pi in your default browser.
Universal 2 for Apple silicon and Intel Macs · macOS 13 or later.
- Connect your Mac to the same local network as the Pi. Allow local-network access if macOS asks.
- Open VinylRest Live Discovery. Discovery starts automatically; use Refresh to search again after the Pi finishes booting.
- Identify your appliance by its name and address. A new image uses a name such as
vinylrest-live-XXXXXXXX. - Choose Open in Browser for the Live dashboard, or System Maintenance for the Configurator.
- After changing the hostname, network or Wi-Fi, use Refresh again if the old address stops responding.
If discovery finds nothing, check that the Pi has completed its first reboot and is on the same LAN, not an isolated guest network. Discovery also checks the local IPv4 subnet when its initial search produces no confirmed appliance. As a fallback, enter the Pi's IPv4 address in Manual address and select Open.
On another computer, tablet or phone, you can open the Pi address from your router's DHCP client list: http://PI-ADDRESS:8001/ for Live or http://PI-ADDRESS:8003/ for configuration. Discovery is optional once you know the address.
Wi-Fi before the first boot
For Wi-Fi-only startup, configure the network on the microSD card you have just written with the VinylRest image, before its first boot in the Pi. The file to modify is vinylrest-wifi.toml.
- Wait until Raspberry Pi Imager has finished writing and verifying the card. Safely eject it from the computer, then unplug the card reader and plug it back in, leaving the card inserted. This remounts the card so that the
bootfsvolume appears. - Open
bootfsin Finder or your file manager, then open the existingvinylrest-wifi.tomlfile at the root of that volume. It is on the freshly written card, not inside the downloaded.img.xzarchive or a folder on your computer. - Edit this file with a plain-text editor, using your country's code and your own network details:
[wifi]
country = 'PT'
ssid = 'Your home network'
password = 'Your Wi-Fi password'
hidden = false
security = 'wpa-psk'
Save the changes in place as UTF-8 text, keeping the exact filename vinylrest-wifi.toml (do not add a .txt extension). Safely eject the card before inserting it into the Pi. Windows line endings are accepted. Leave the file untouched when using Ethernet. For a hidden network, set hidden = true; the template documentation also supports WPA3-only personal networks with security = 'sae'.
The file contains a readable Wi-Fi password until connection succeeds. After success, the appliance replaces it with an empty inactive template and retains the connection in its protected settings. If startup Wi-Fi fails, correct the file and reboot, or connect Ethernet and use the Configurator. Do not share the completed file.
Make the first connection
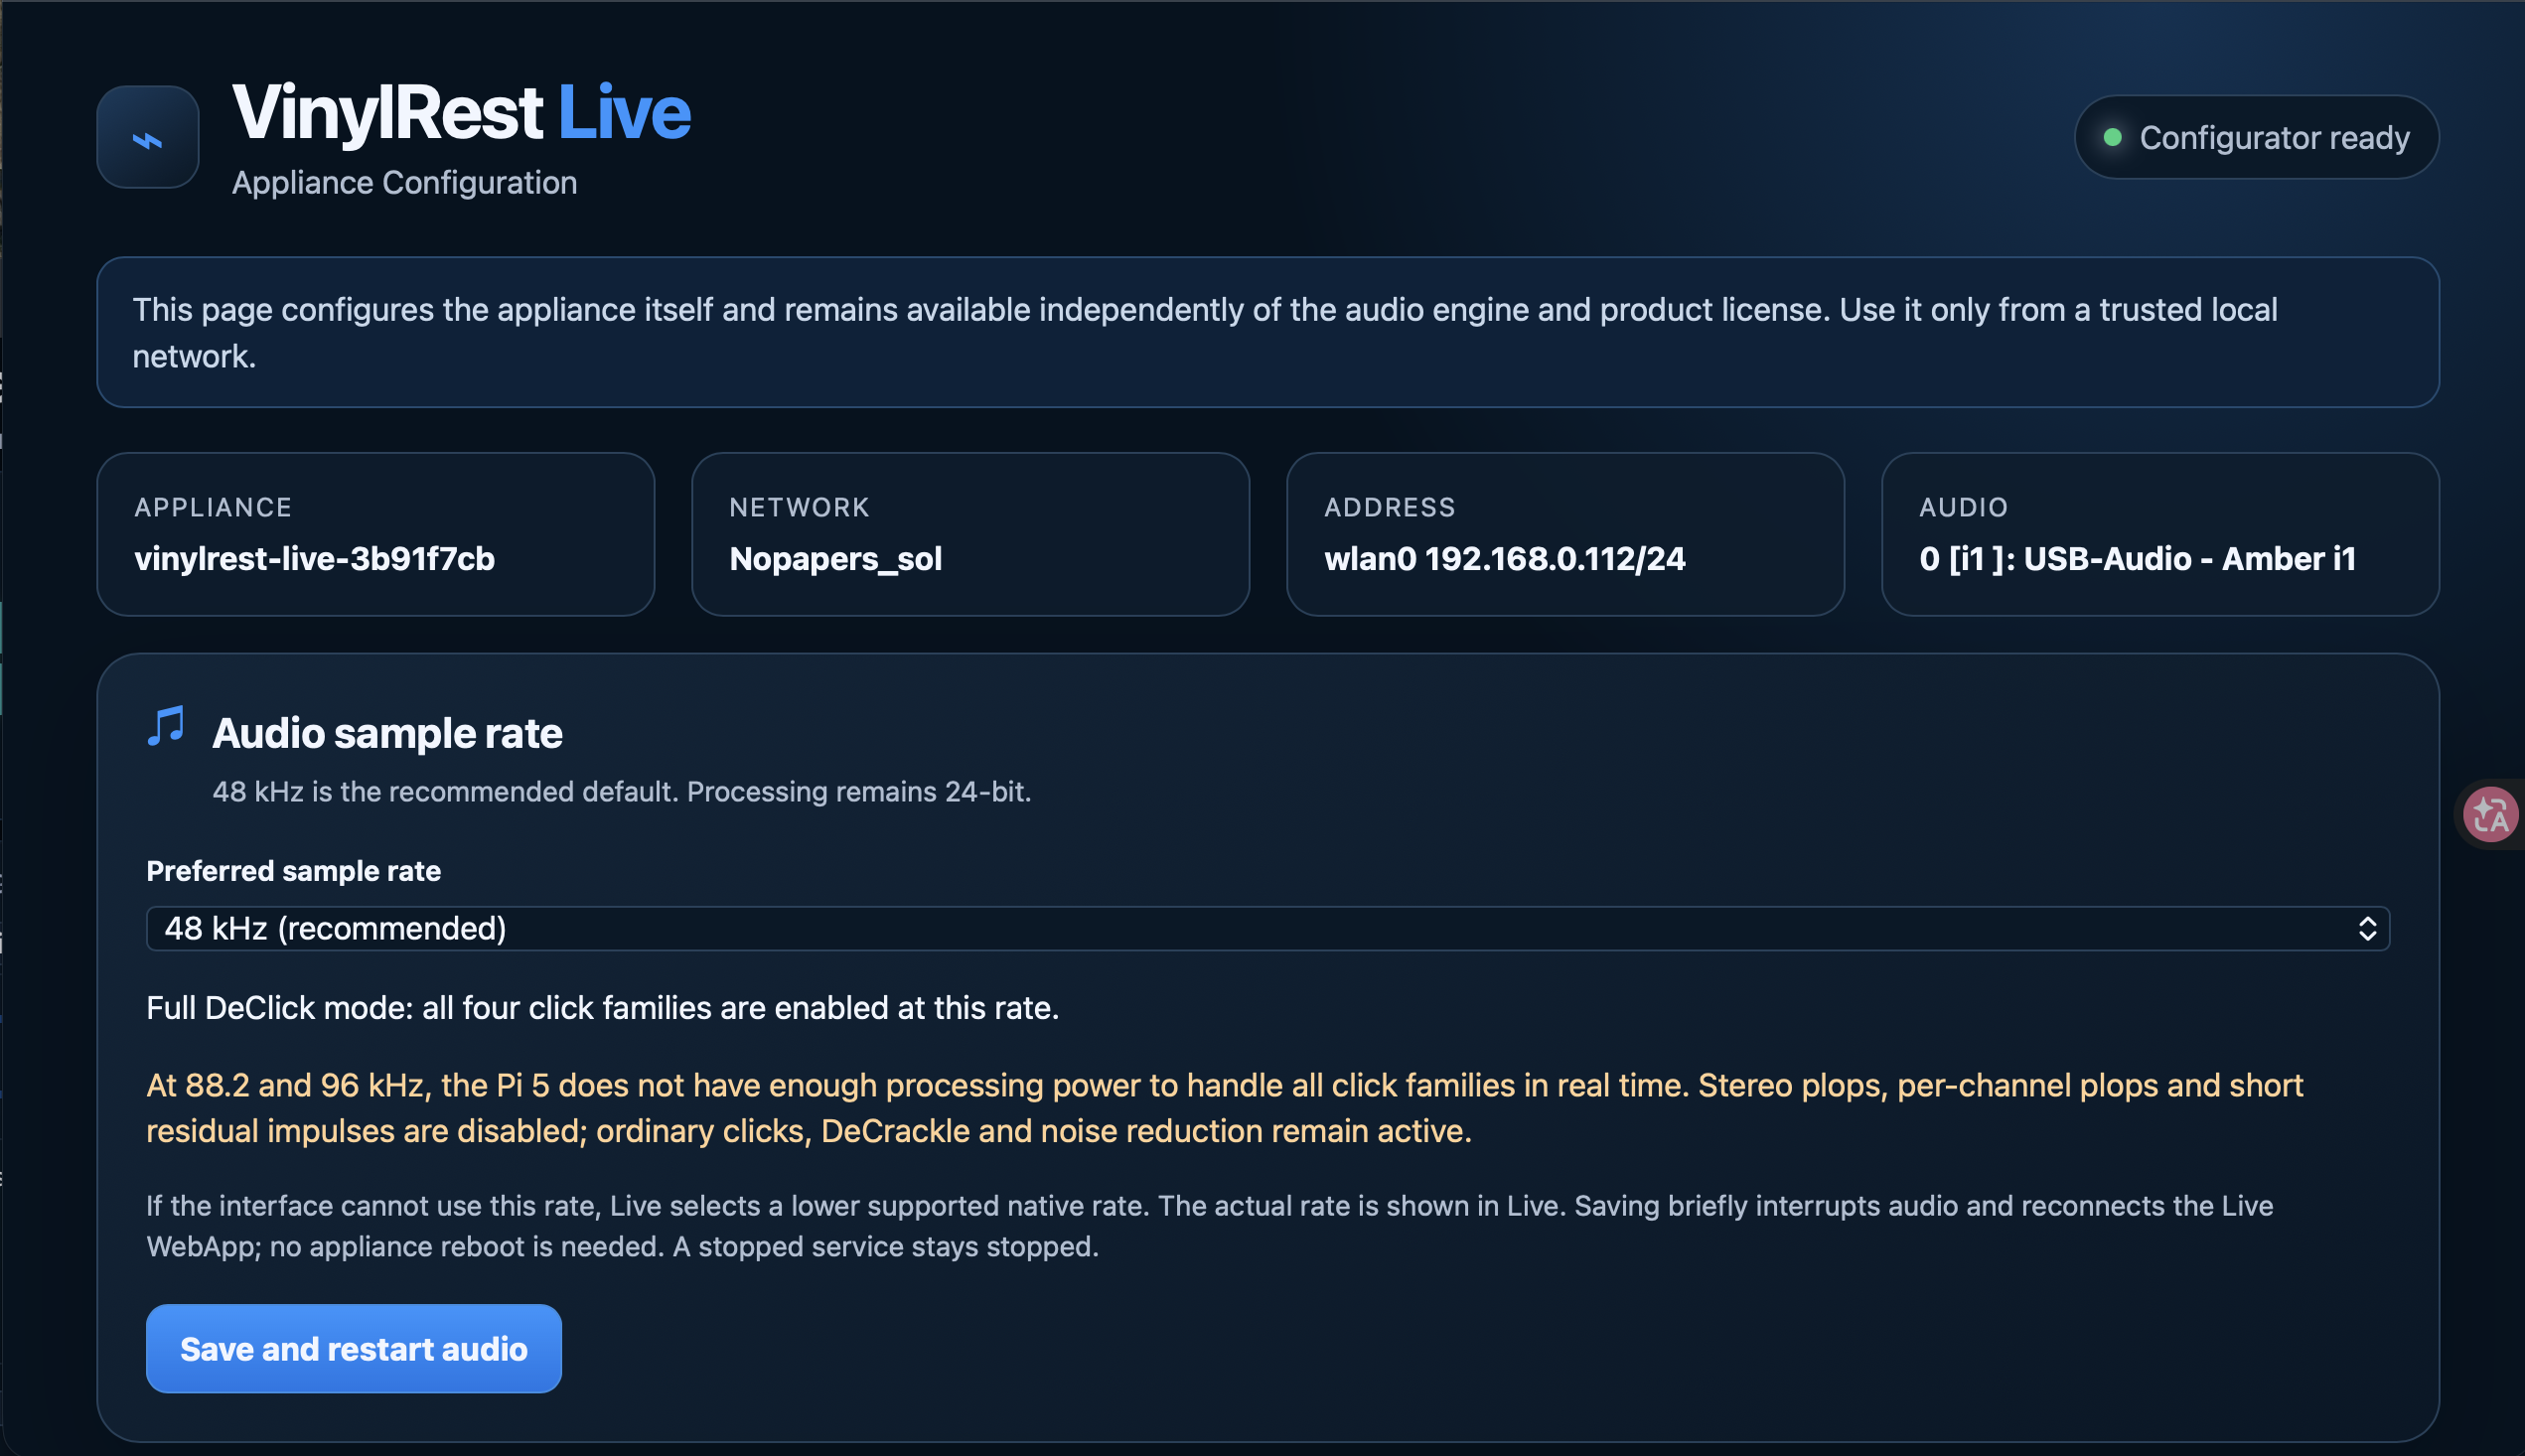
Set your timezone and Wi-Fi country, retain the recommended 48 kHz audio rate, then open Live and follow License and activation. Confirm the independent input/output devices and their connector pairs in Settings, select Repaired, start audio and raise the amplifier volume gradually.